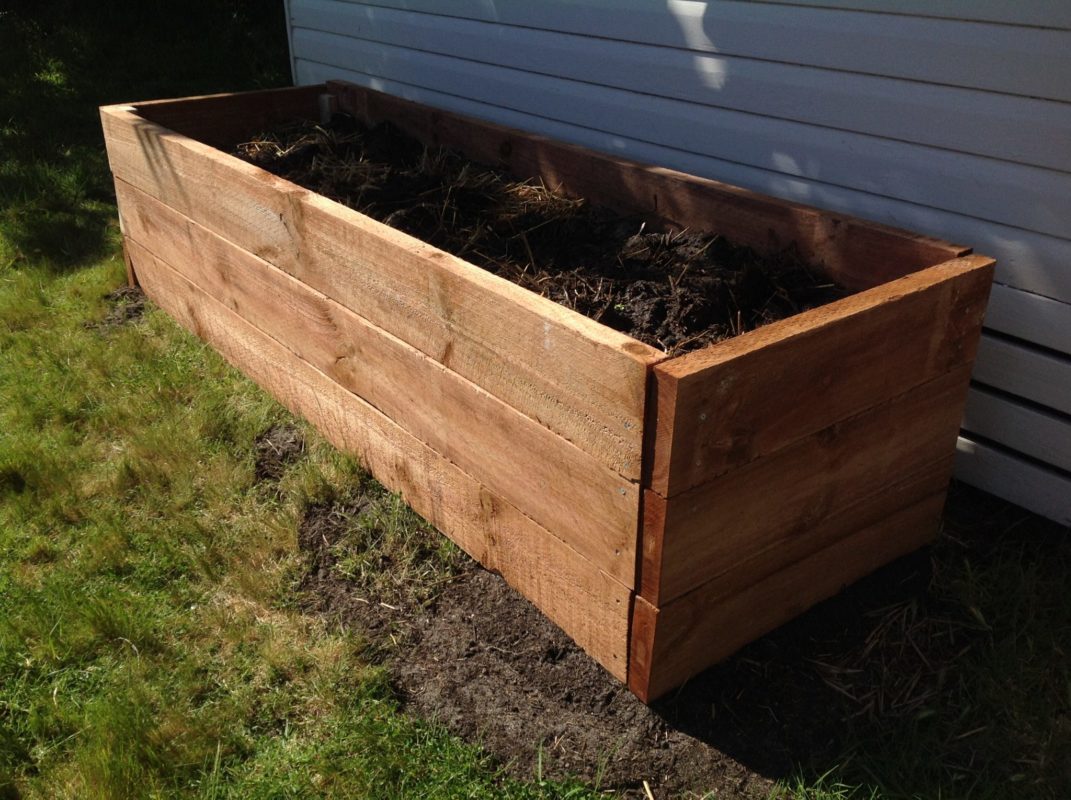
A raised garden bed can provide a range of benefits. Raised garden beds are easier to access, look good and can provide more area within your garden.
Here is a brief step by step process outlining how you can build your own raised garden bed. The list below will make a single raised garden bed 2.4 metres long, 80cm wide and 60cm high. We no longer build raised gardens beds as a service.
Materials and Tools
- Impact driver.
- 75mm (7.5cm) long treated pine screws.
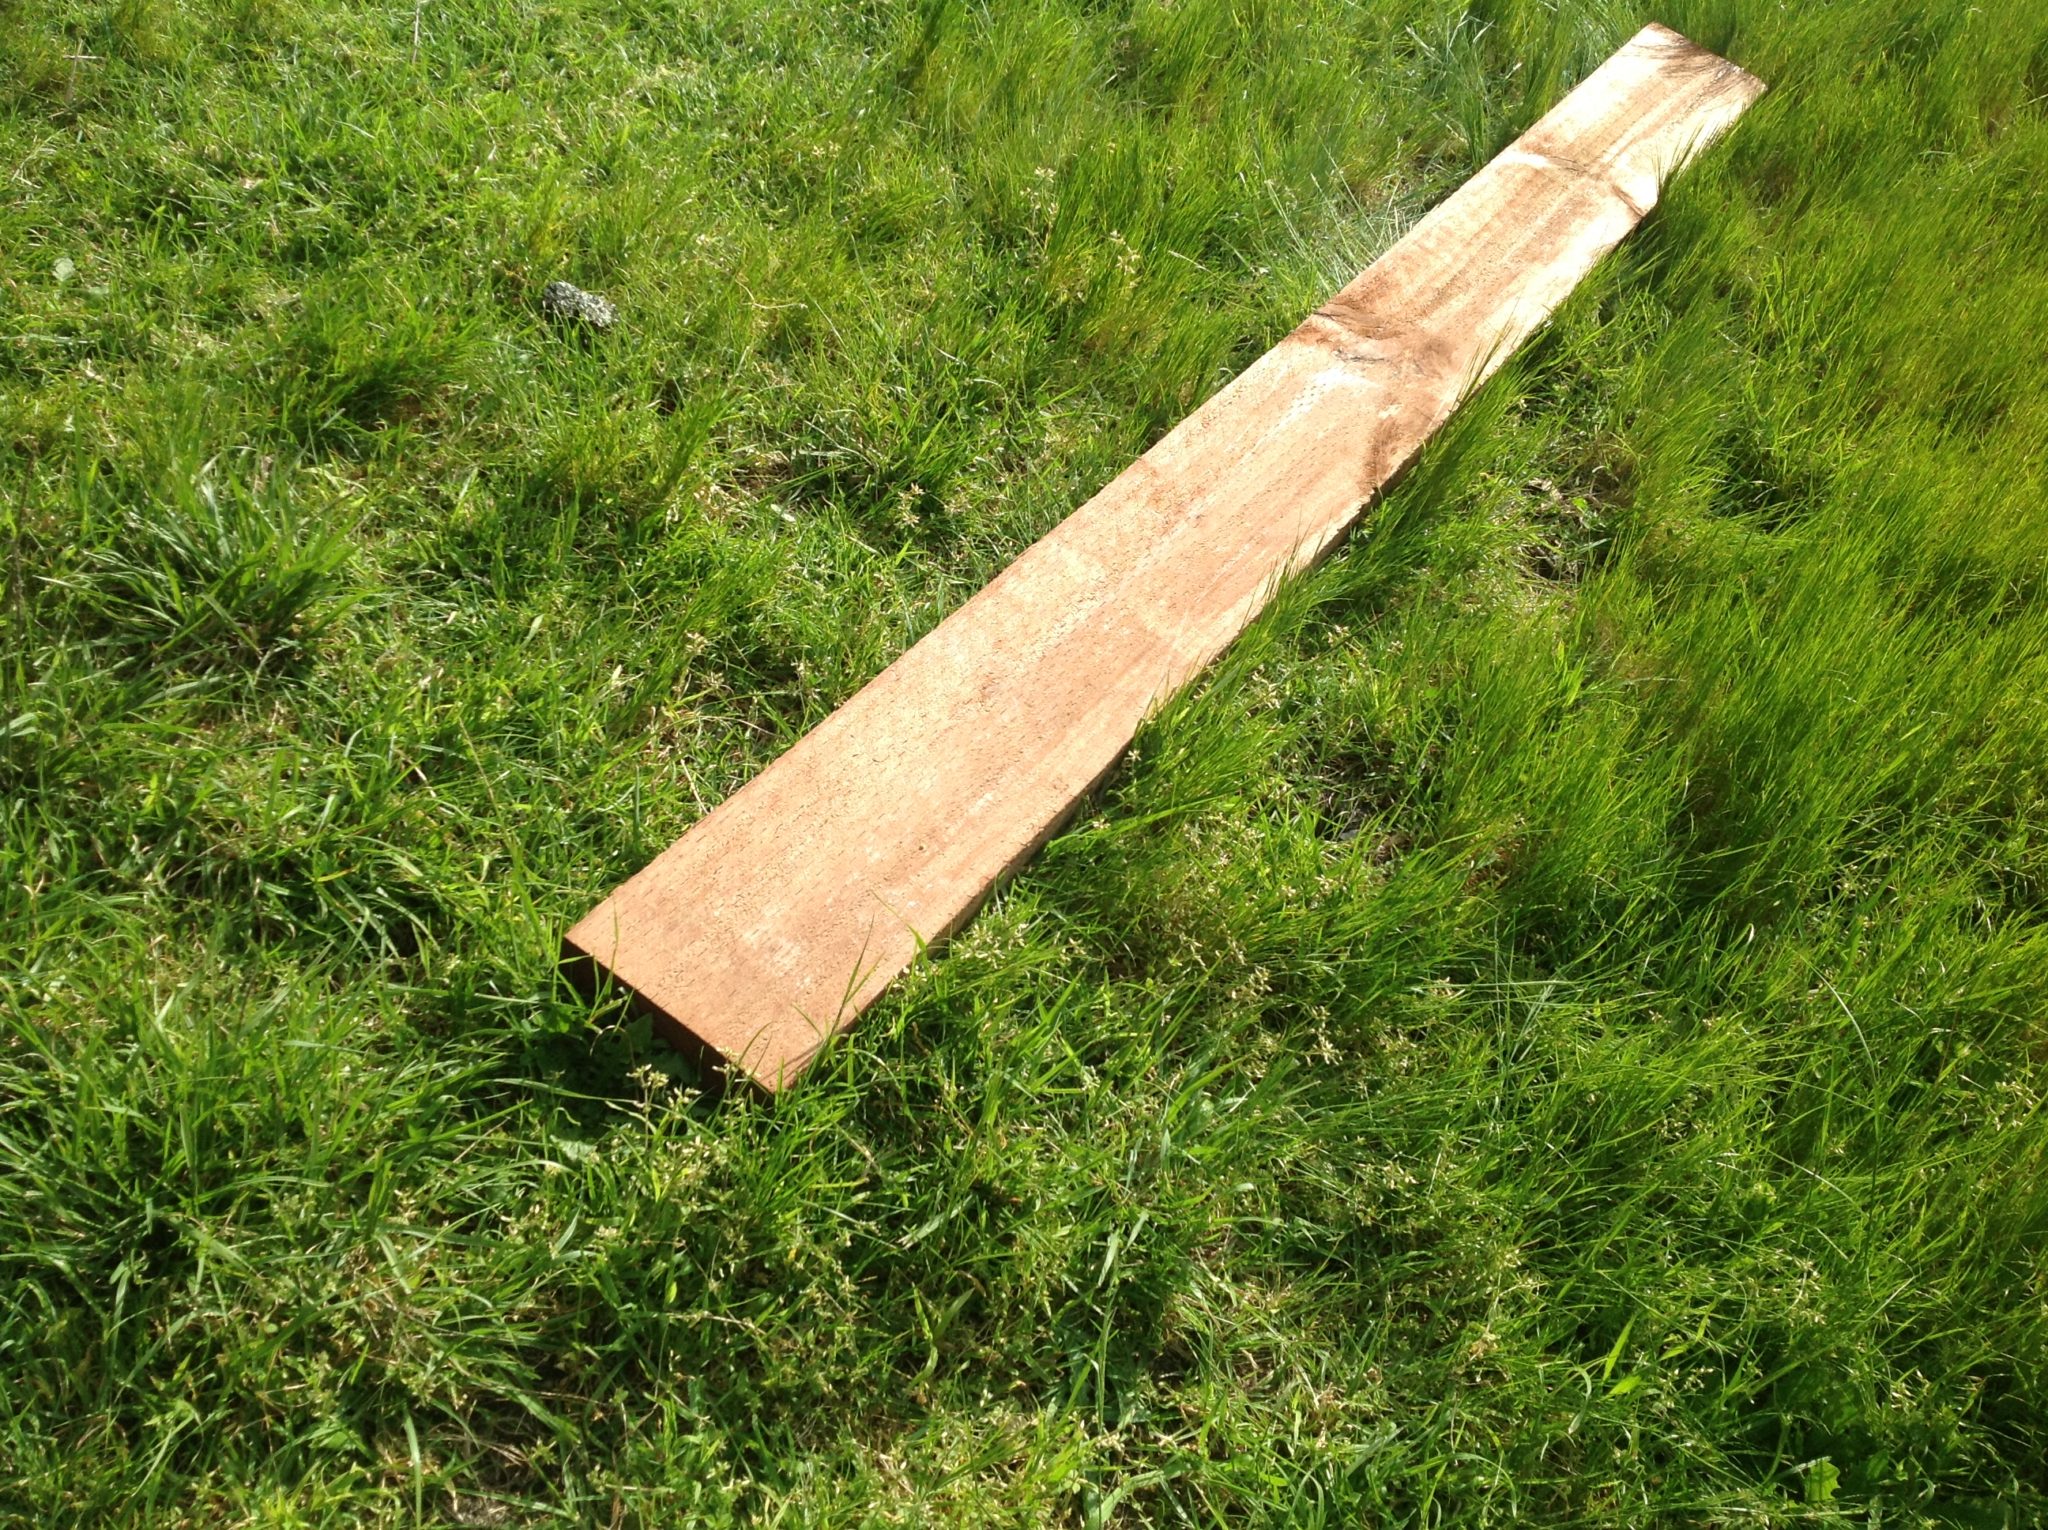
- 8 pieces of 2400mm (2.4m) Microshade H4 treated pine sleepers.
- 2.4m of treated pine fence railing 35mmx70mm.
- Handsaw (with the ability to cross cut).
- Measuring tape.
- Spirit level.
- Pen/pencil.
- Excess soil.
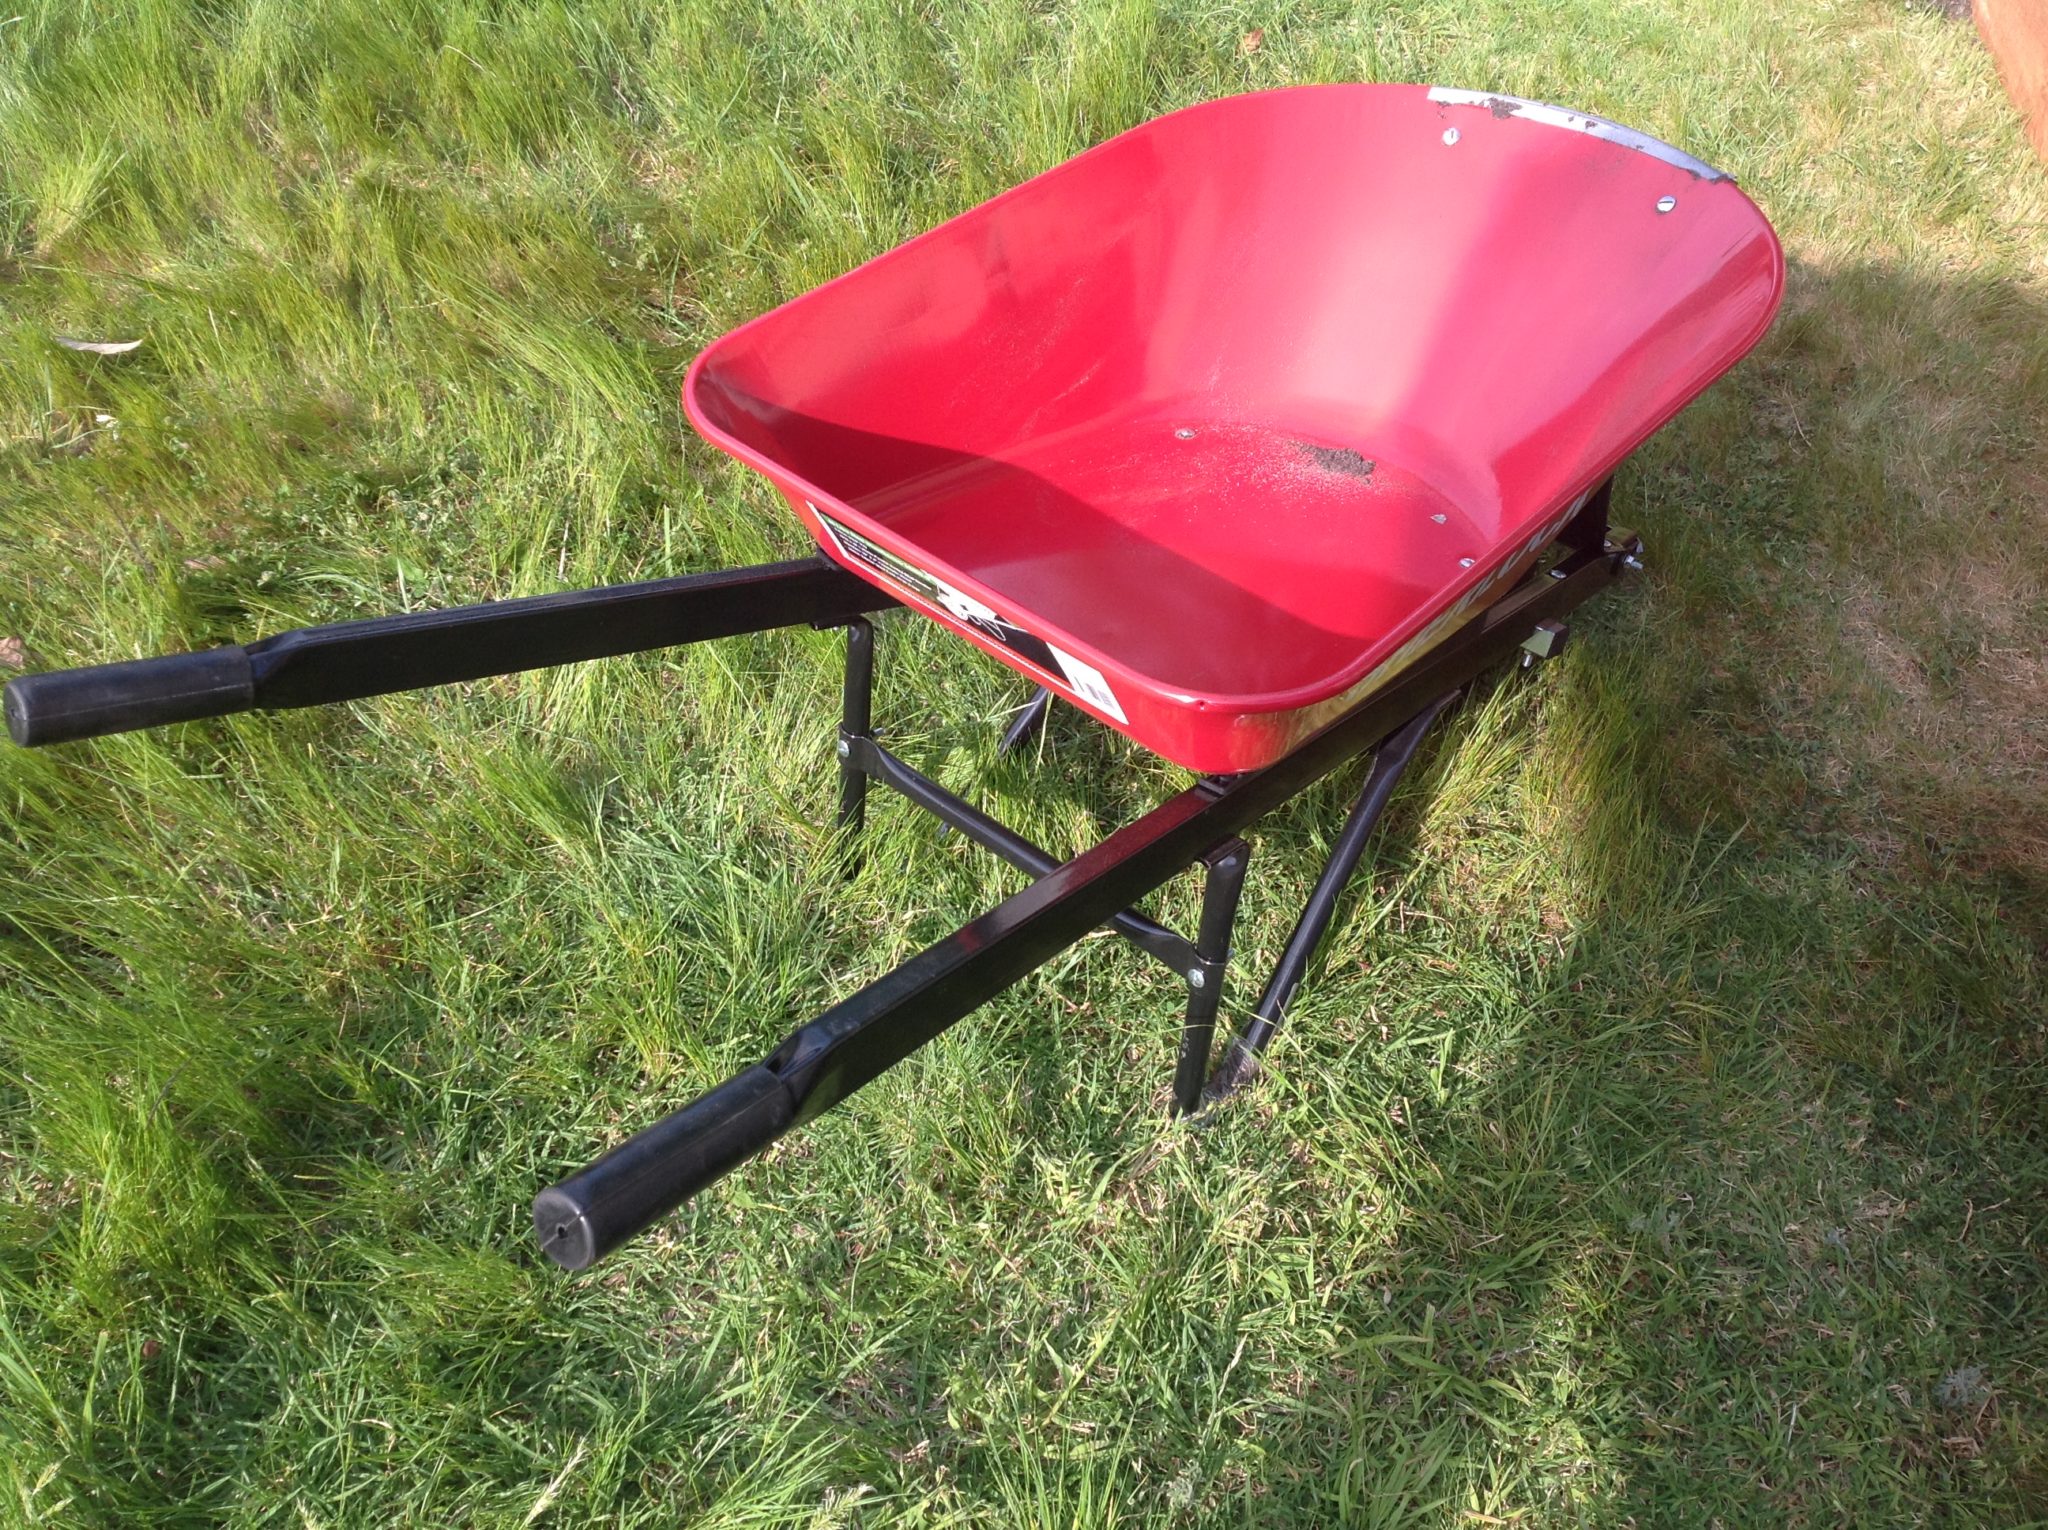
- A wheelbarrow is very important.
Process
- Get all of your equipment and the timber and screws out and easily accessible. If you prepare before doing the job, it will make the process much easier – reducing your chances of losing things and wasting time.
- Measure the 80cm cuts on the sleepers. Use your tape measure and mark with a pencil (preferably on the inside of the garden bed). Make the cuts with your handsaw. Also cut the treated pine fence railing to 60cm lengths.
- Set up the sleepers in the desired location. If you have access to sandy soil, don’t worry about the drainage and try to make the garden bed flat. If your soil is not sandy, then a gentle slope may be a good idea.
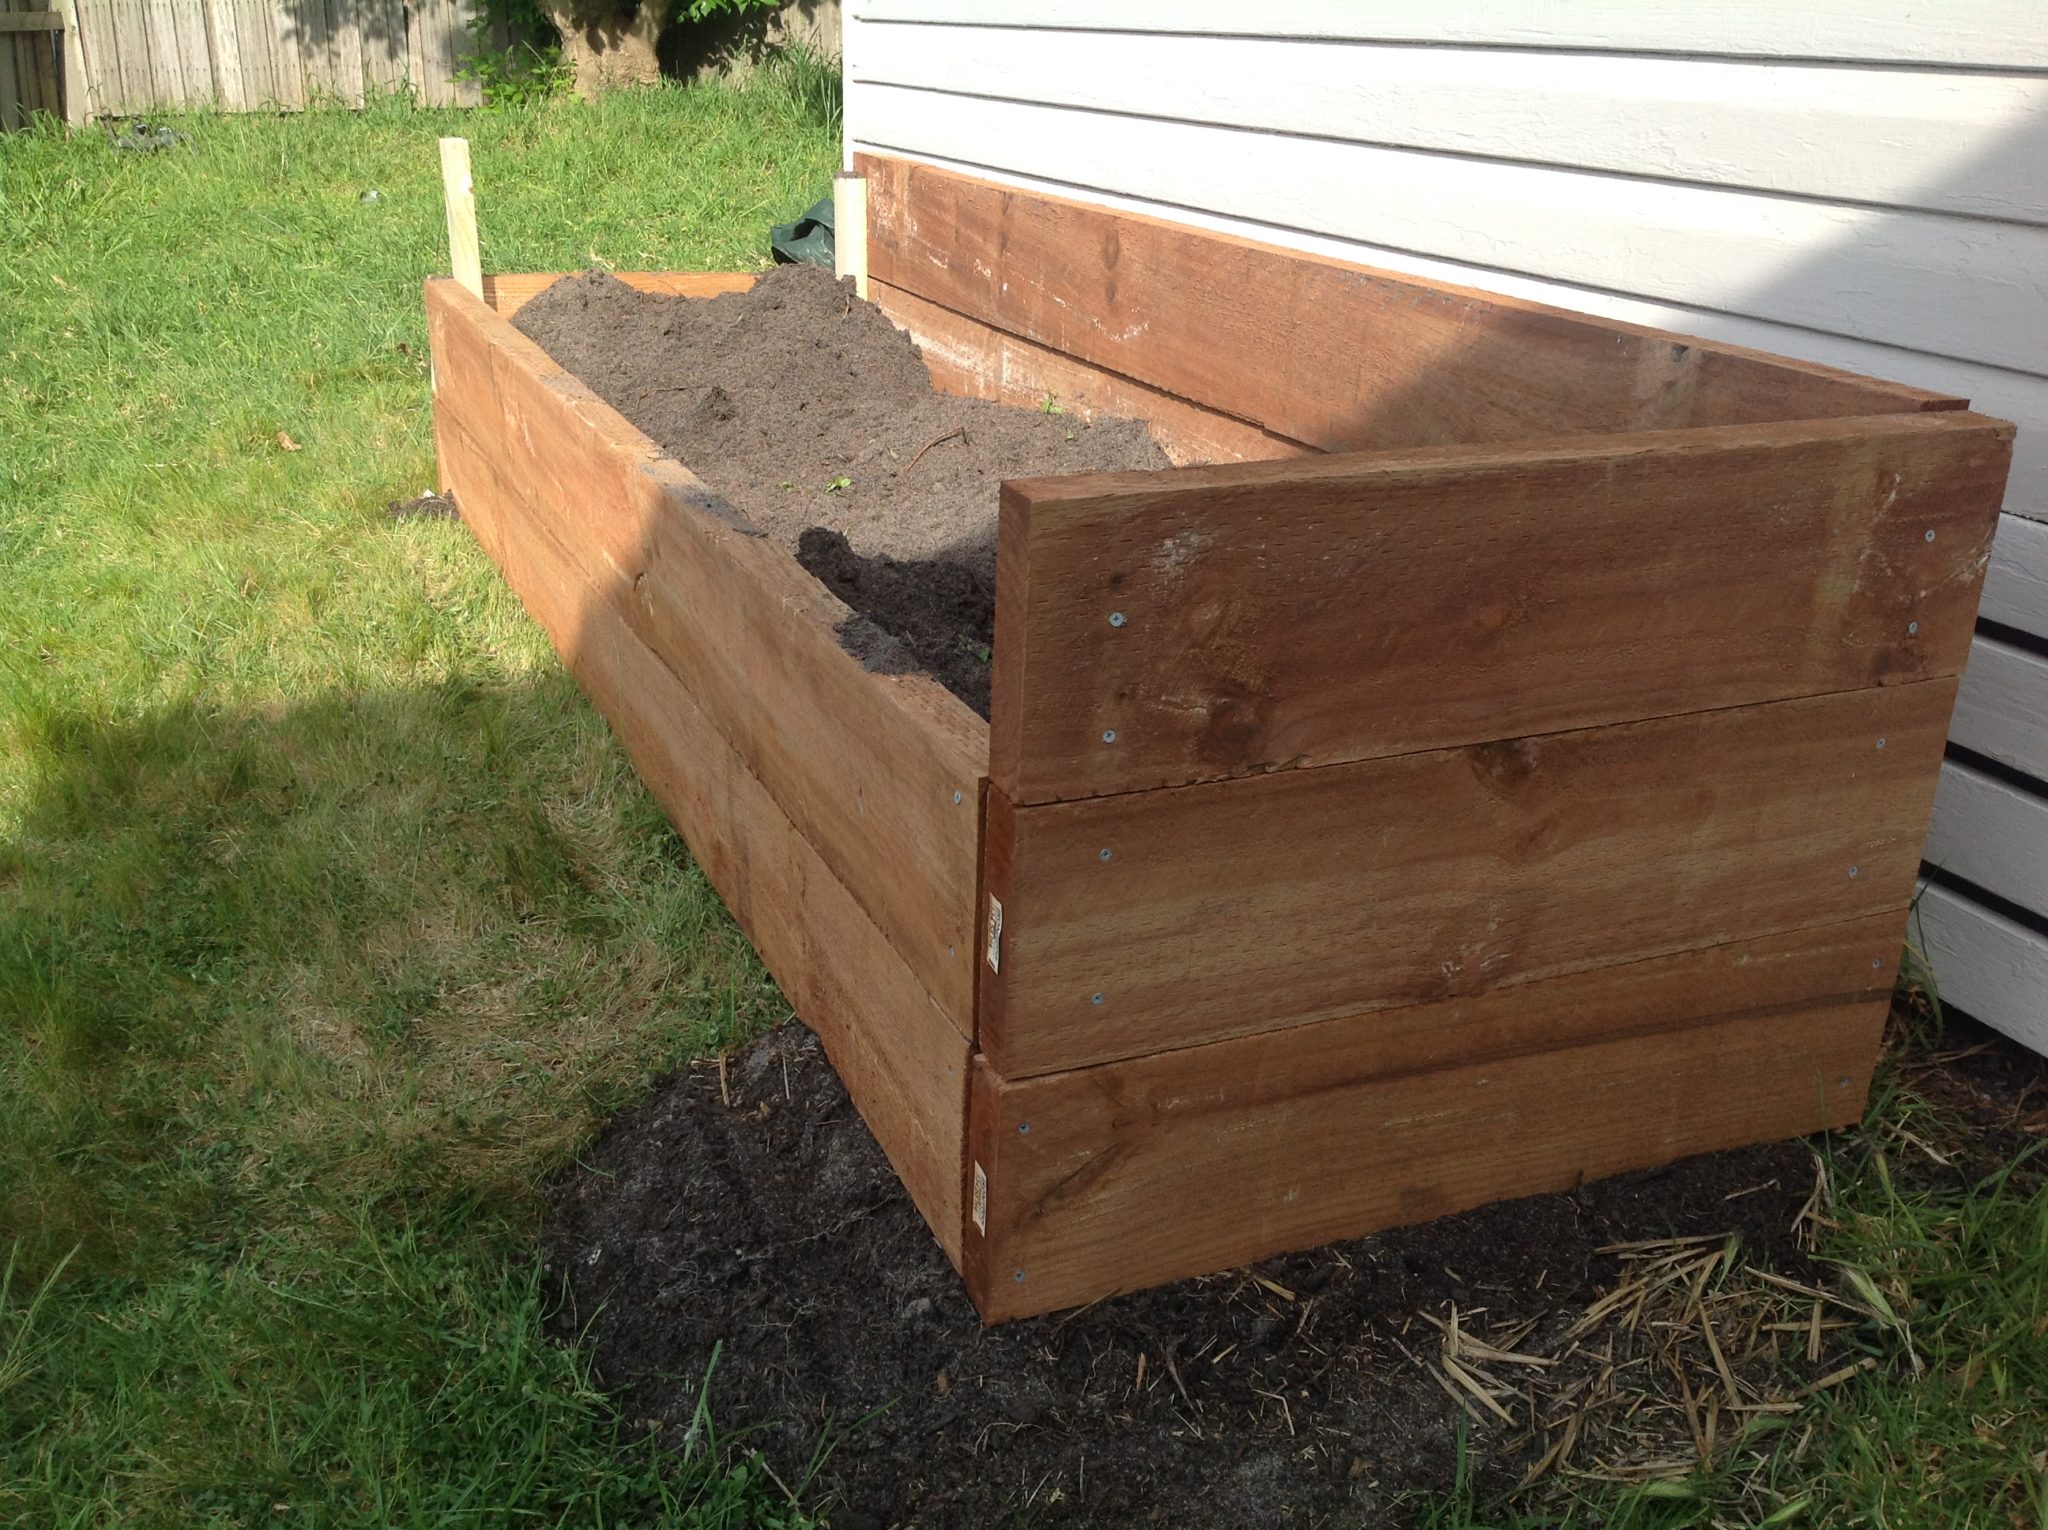
- Complete the end of the garden bed first (the shorter side). Screw the treated pine screws into the sleepers, making sure that they penetrate the fence railing. If you can find a helper for this bit, they will be able to hold the structure while you drill the screws into the wood.
- Ensure that the sleepers are level and affixed tightly to the railing. Complete only the first level of sleepers before checking level and position. Any problems should be fixed early to prevent completely redoing your hard work.
- Complete the second level of sleepers – simply stacking the second layer sleepers on top of the bottom layer and screwing them tightly into the fence railing.
- Begin emptying your soil into the garden bed. Make sure that you mound the soil as much as possible to reduce the amount of soil required inside the garden bed after affixing the final sleepers. Use the wheelbarrow – saving you time and reducing the chance of injuring your back.
- When the raised garden bed has as much soil in it as possible, affix the remaining sleepers.
Appropriate plants
The raised garden bed will drain water faster than the rest of the garden due to its height. Ensure that plants grown in the raised garden bed are tolerant of drier soil – or remember to water them more frequently.
To give plants the best chance at life, it may be worth including fresh compost. This extra burst of nutrients and microbial activity will help plant growth.
I’ve included some compost in our raised garden beds, because our soil is quite sandy. I’ve also included some of the old duck bedding straw, which is full of good stuff! At this stage, we’re planning on planting some oregano, lavender and perhaps some rosemary.
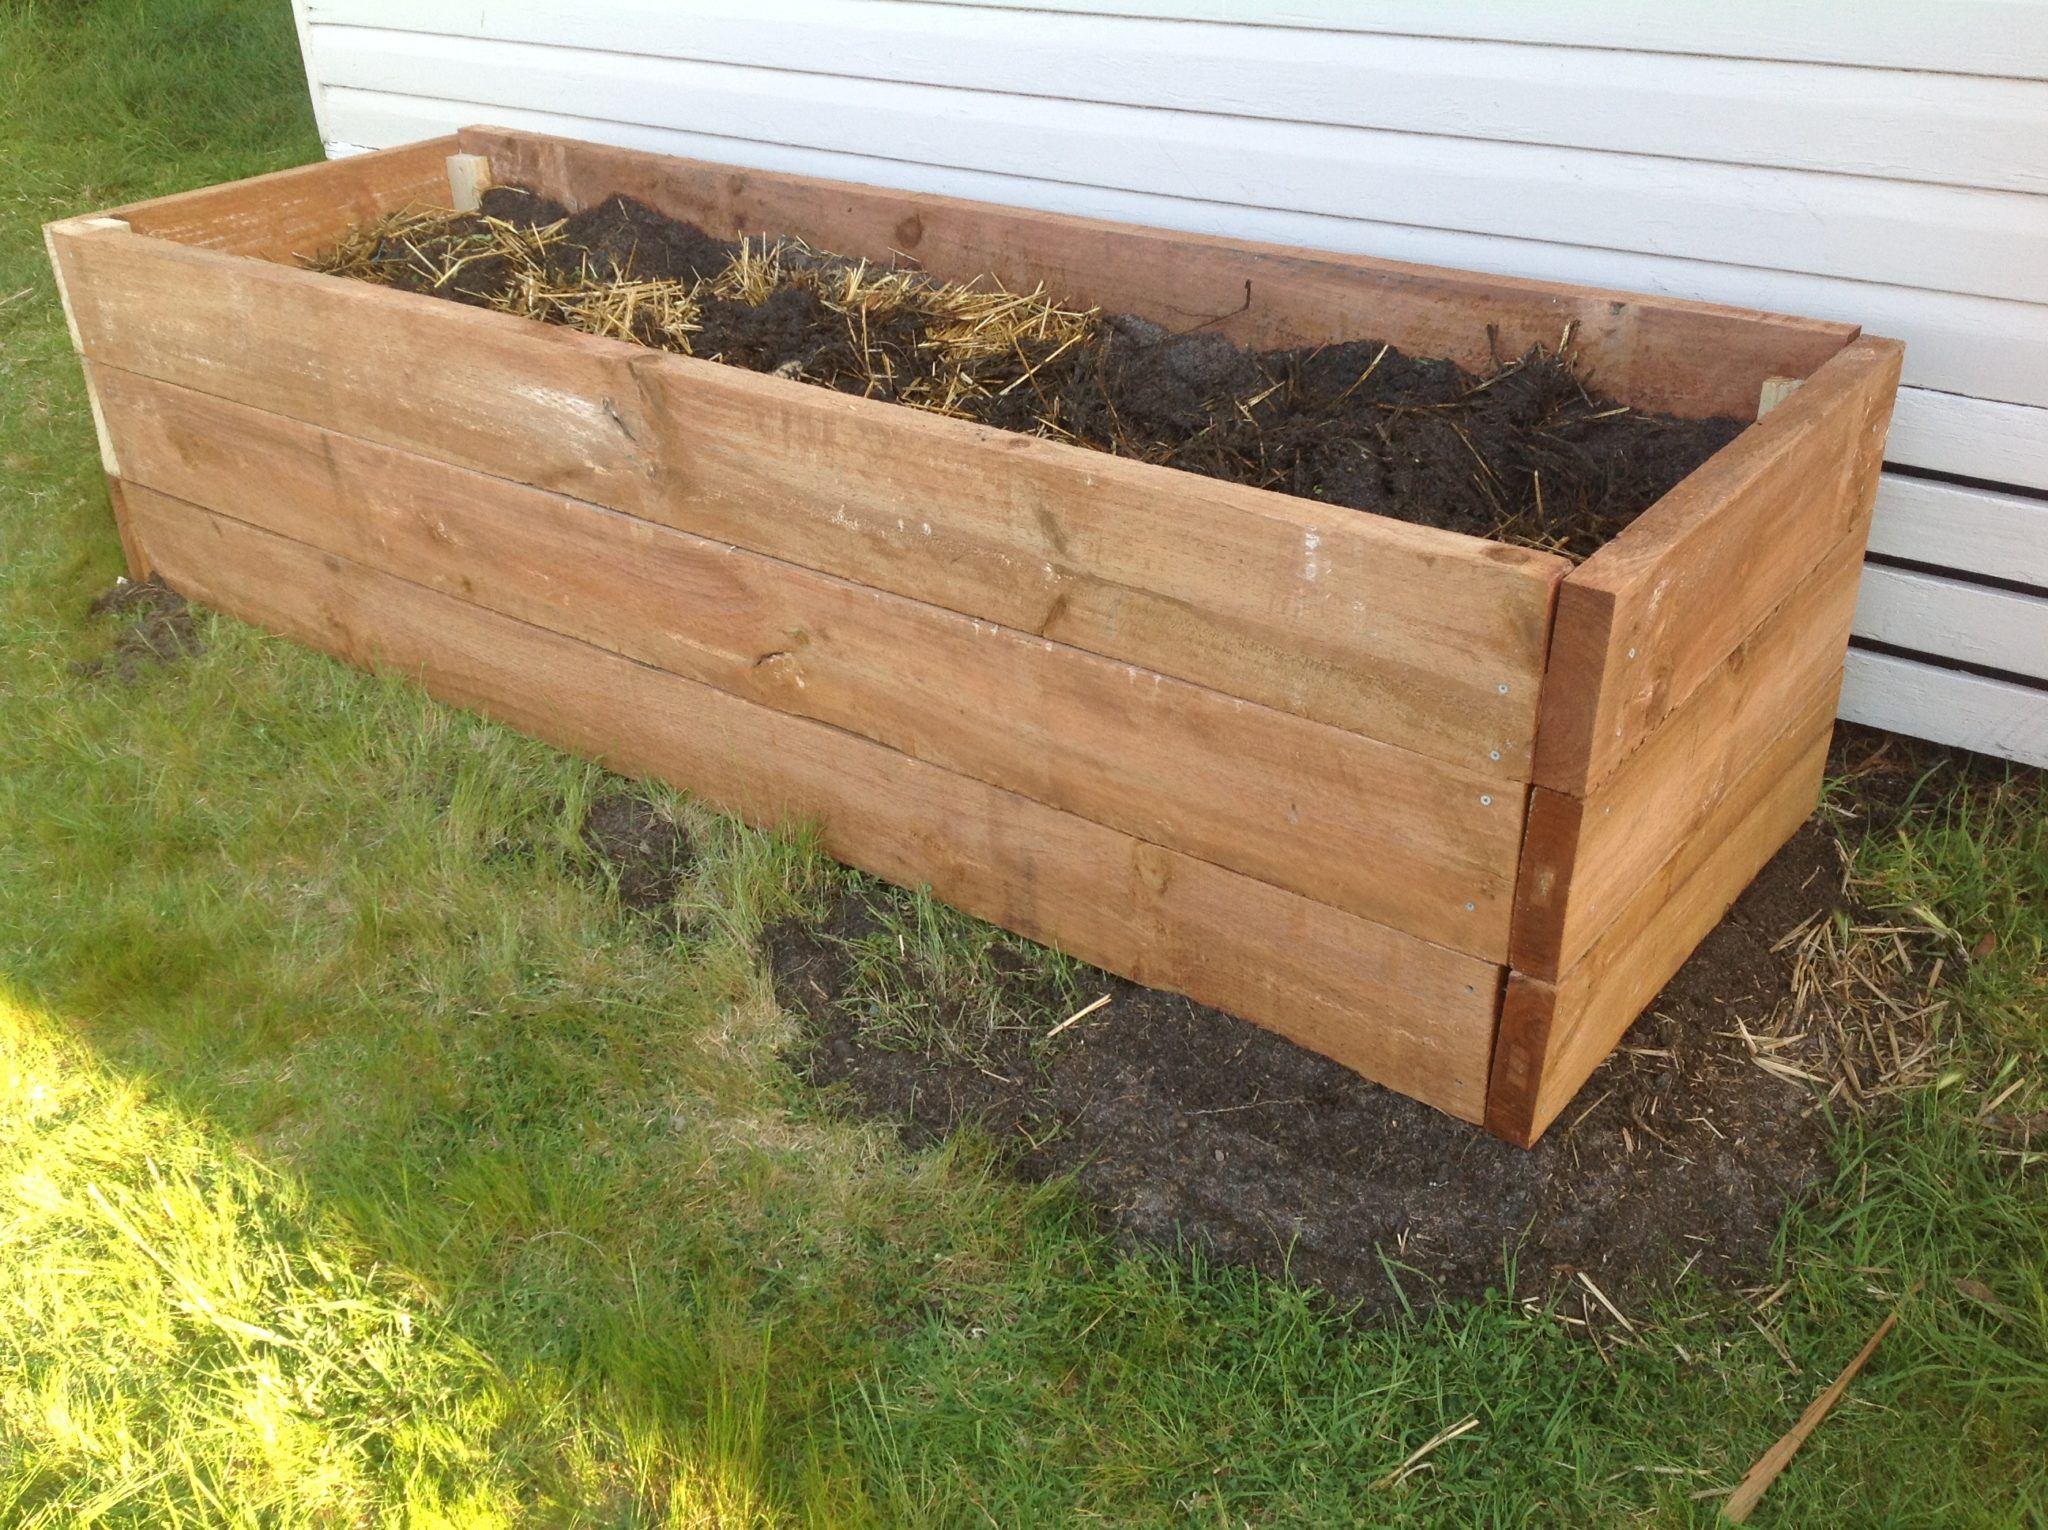
Notes on building a raised garden bed
In order to build a stronger, and longer lasting raised garden bed, you could substitute the treated pine sleepers with an alternative such as redgum. Redgum is a hardwood and has a range of durable qualities, but the downside is that it will cost significantly more.
If you’re after a raised garden bed that will be self watering as well, these are called wicking beds. Have a look at this article to discover how to make your own wicking beds. Note that wicking beds are considerably more difficult (and expensive), and using more durable timber such as redgum is recommended.


